How to Dry Up a Wet Yard Fast: 5 Effective Solutions and Tips
Having a wet yard can be a frustrating experience, especially when it hinders you from enjoying outdoor activities or even just maintaining your lawn. Whether it’s due to heavy rain, poor drainage, or a high water source, a wet yard can cause damage to your property and become a breeding ground for pests.
But don’t worry – there are several effective methods for drying up a wet yard fast. In this article, we will discuss these methods and provide you with step-by-step instructions on how to get your yard dry and usable again in no time.
Let’s explain all the methods of How to Dry Up a Wet Yard Fast.
How to Dry Up a Wet Yard Fast.
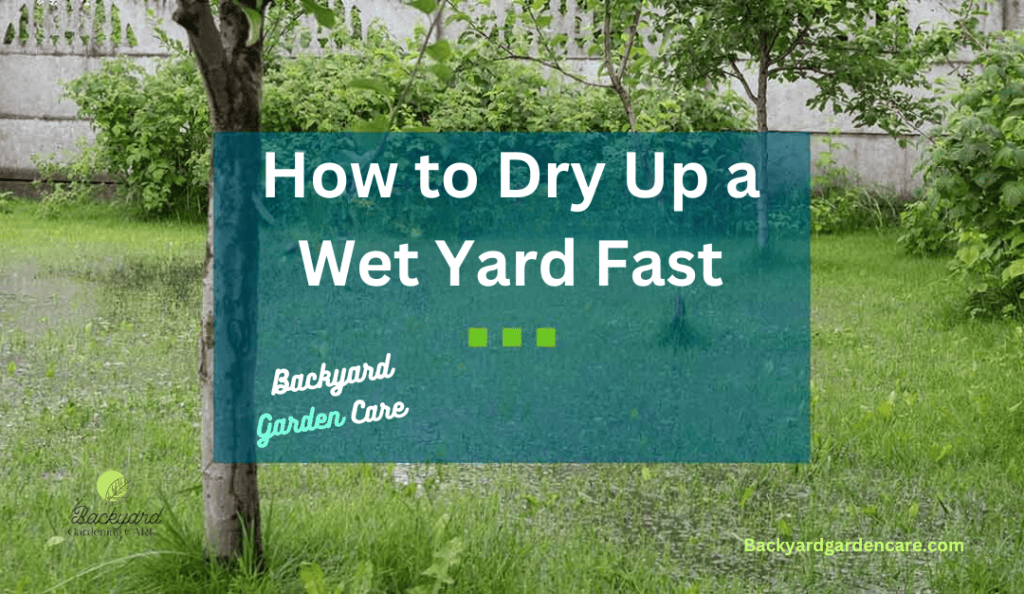
A yard that is constantly wet can be quite unsightly and inconvenient. Not only does it make it difficult to work in, but it also leads to mud being tracked into the house by people and pets.
Moreover, the excess moisture can be detrimental to the health of your grass and plants.
If you find yourself with a yard that experiences chronic or seasonal flooding, it is crucial to address this issue to prevent further damage to your property.
To begin with, it is important to understand the root cause of the water accumulation in your yard. Take the time to observe your yard and identify the areas where flooding is most severe.
Several factors can contribute to a muddy yard, such as the yard staying wet for days after rain, improper drainage from downspouts or gutters, runoff from one part of the yard to another, or even drainage issues from neighbouring properties. To effectively fix a muddy yard, it’s essential to address these underlying causes and implement appropriate solutions for lasting results.
Once you have determined the cause of the problem, you can take appropriate steps to dry out your yard and protect your house. Here are some effective tips to help you in this process.
Inspect Water and Sewer Lines.
Based on my personal experience and a conversation I had with my friend Mr Joseph, who is also a seasoned gardener, we both agree on the importance of checking for underlying problems before addressing waterlogged areas in your yard.
In our gardening journeys, we’ve encountered instances where lawn flooding or even the unusual occurrence of what we fondly call “grass bubbles” turned out to be linked to a damaged water main or sewer line concealed underground.
Joseph and I discussed the telltale signs that could suggest the presence of a broken underground line. One of the most noticeable indicators is when your lawn unexpectedly turns into a soggy mess, even when there haven’t been significant weather changes. This is something that both of us found rather perplexing but significant.
If you experience this sudden lawn flooding, it’s a clear signal that there might be an issue with your water or sewer lines. Additionally, if you observe water pooling in specific areas of your yard without any apparent explanation or come across muddy patches in areas that have never seen flooding before, it’s definitely a cause for concern.
In light of these observations, Joseph and I both recommend delving deeper into the matter. If you suspect that a damaged water main or sewer line is responsible for the excessive moisture in your yard, it’s a wise move to reach out to a qualified plumber.
Plumbers possess the expertise needed to thoroughly assess the situation and offer sound advice. Depending on your city’s regulations and the extent of the damage, we learned that the responsibility for repairing these underground lines may fall on the municipality.
Promptly addressing these issues is crucial to prevent further complications and potential hazards to your yard and the surrounding area.
Filling Low Spots

There’s a chance you’re experiencing flooding if your lawn has low spots or areas that aren’t levelled. Fortunately, there is a simple solution to this problem – filling in the low areas. Identifying yellow low spots in your yard can be tricky until water accumulates.
Once you notice standing water in your lawn, it becomes easier to identify the wet spots and take action to fill them in. Luckily, there are two simple methods that you can use to fix these low spots and prevent water from pooling in your yard.
The first method involves using a mixture of dry topsoil and sand. By taking equal measures of dry topsoil and sand, you can create a blend ideal for filling the low, wet areas. Spread a layer of about 1.5 inches of this mixture onto the low spot, ensuring it is evenly spread.
Over time, the grass will start to grow through this new substrate, gradually filling in the hole and levelling the area. Repeating this process every four weeks is recommended until your lawn is nice and level. Additionally, Black Mulch is also a good source of compost in the low spots in your lawn.
Another method you can use is to incorporate compost into the low spots. Apart from enriching the soil, compost also helps to improve drainage and promote healthy grass growth.
Spread a layer of compost over the low areas, ensuring an even application. As the compost breaks down, it will help to fill in the low spots and create a more level surface.
This method can be repeated as necessary to achieve the desired results. Incorporating compost into your lawn care routine allows you to create a healthy, well-drained lawn free from the problems associated with low spots.
Build a Creek Bed.
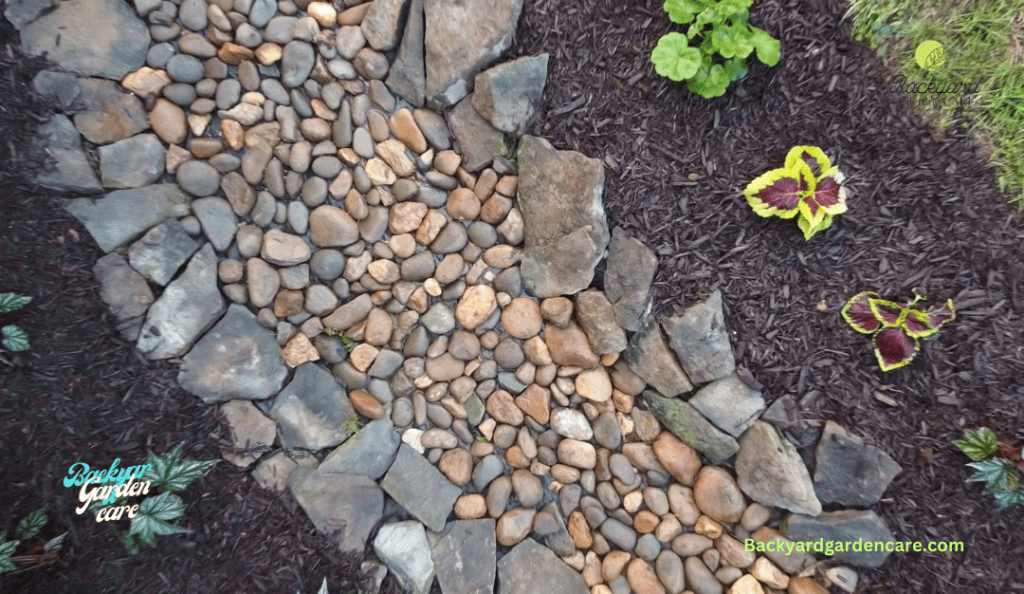
Making a dry creek bed in your yard can be beneficial and aesthetically pleasing. While it may require more effort than simply mixing sand and dry topsoil, the results can be long-lasting because sand to dry out lawn is better and enhances the curb appeal of your property.
The purpose of dry creek beds is to divert water away from low spots in your yard and towards a designated area, such as a rain garden or a dry well.
This helps prevent water accumulation and potential flooding while allowing the water to soak into the soil slowly. Gravel and stones usually line the surface of a creek bed, which is typically relatively shallow.
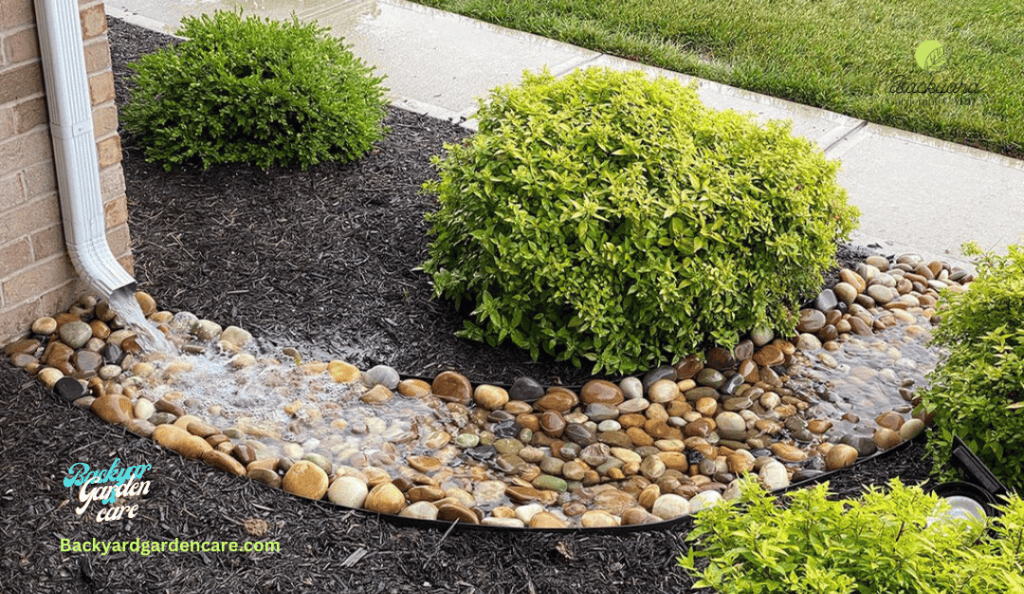
The use of boulders and native plants along the sidewalls not only serves a functional purpose but also adds an appealing visual element to the landscape. Once properly constructed, a creek bed requires minimal maintenance and offers a long-term solution for drainage issues.
Its ability to efficiently channel water away from problem areas means less time and effort spent dealing with water accumulation, enabling you to enjoy a well-maintained and dry yard for years.
The construction of a dry creek bed can benefit both the functional and aesthetic aspects of the environment. Not only will it effectively drain water from your yard, but it will also add a touch of natural beauty to your outdoor space, increasing the overall appeal of your property.
So, consider including a creek bed in your landscaping plans and reap the rewards of a well-designed and efficient drainage solution.
Make a Trench Drain.
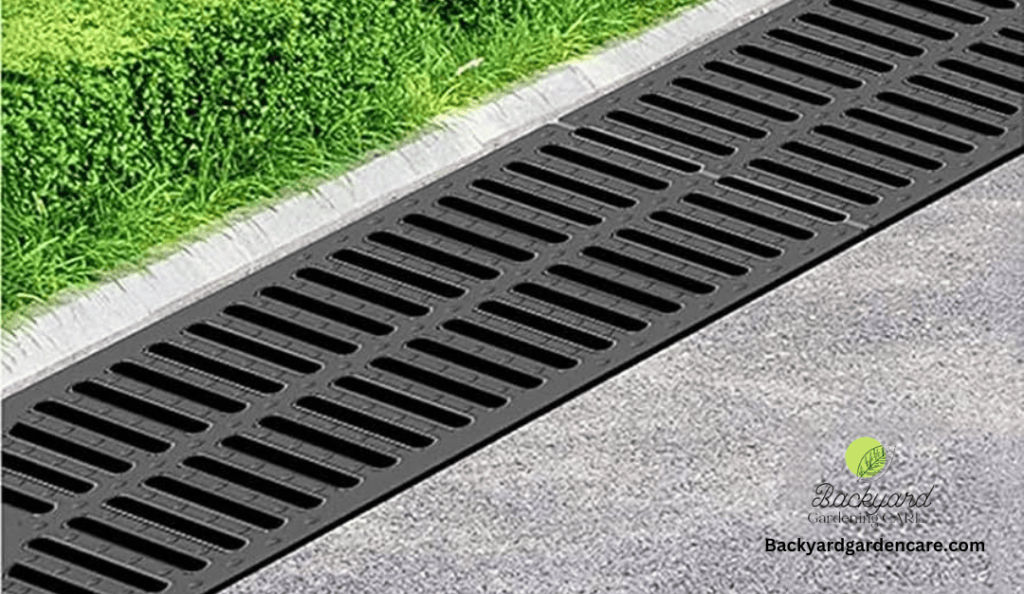
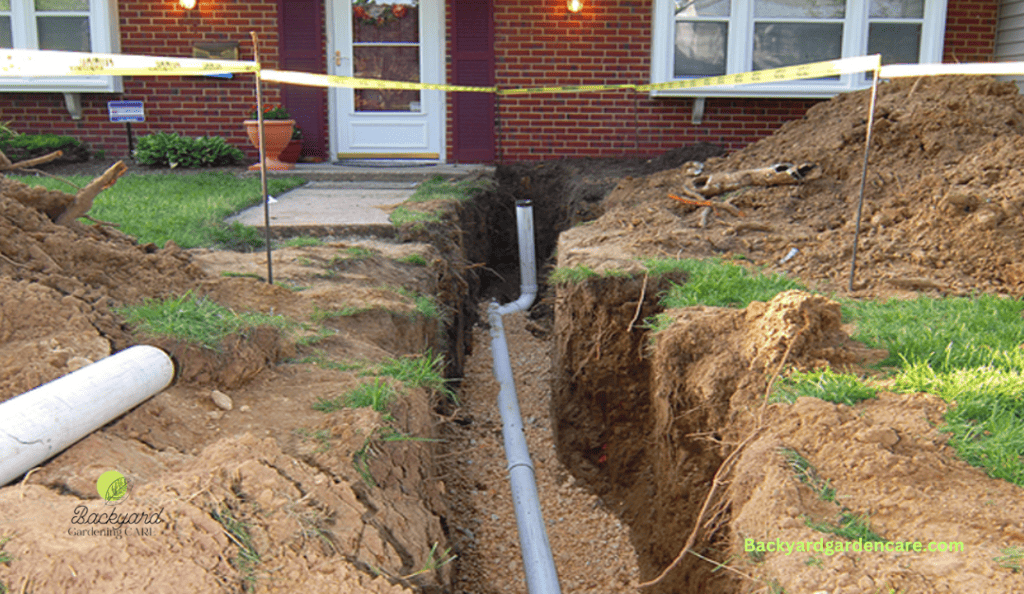
If you are dealing with excess water in your lawn and want to prevent it from saturating the soil, installing a trench drain can be a great solution. Trench drains are underground pipe systems designed to remove surface water before it seeps into the earth. Additionally, drainage is also used for unwanted waste disposal.
Unlike a French Drain, which focuses on eliminating groundwater beneath the soil’s surface, a trench drain specifically addresses surface water issues. To get started with installing a trench drain in your lawn, you’ll first need to identify the best location based on where the water is coming from or where it tends to pool.
For many homeowners, a common spot to install a trench drain is at the end of their downspouts. This ensures that excess water from the gutter system is effectively redirected away from the foundation of the house.
Once you’ve determined the ideal location, follow these steps to install a trench drain.
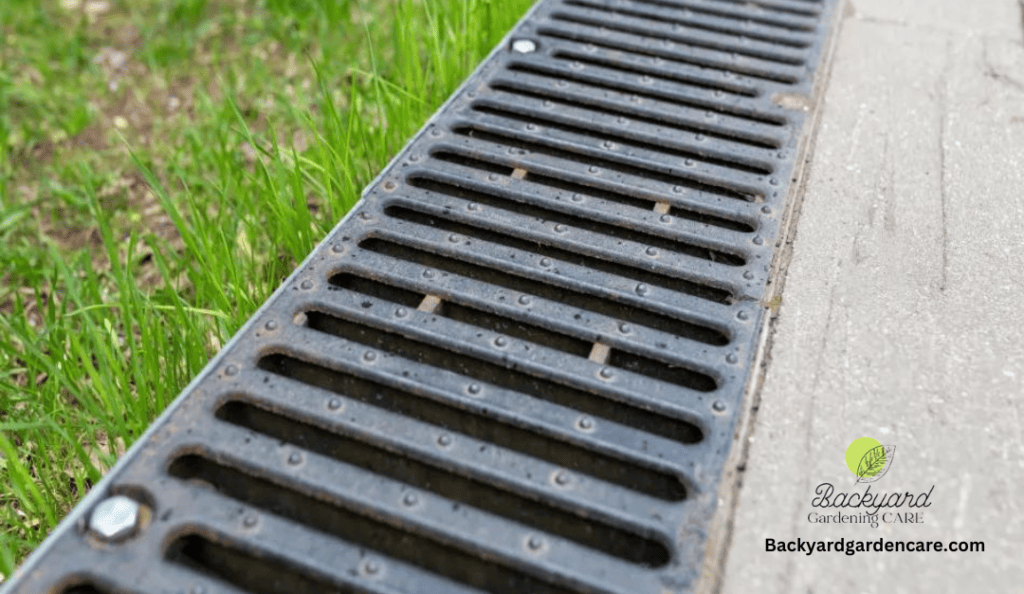
To start, you’ll need to determine the best location for the trench. It should be near a downspout outlet or a flooded area to redirect water away from your home. The trench should be 18 inches deep and 12 inches wide, with a slope of at least one inch after every 10 feet.
This slope ensures that water flows smoothly towards the outside of your property. Once the trench is dug, it’s important to line the base with a minimum of 3 inches of gravel. This layer of gravel helps with water absorption and prevents the soil from becoming saturated.
Next, run a drainage pipe from the water source through the trench to the determined endpoint. The drainage pipe is a conduit to carry the water away from your home. Once the pipe is in place, cover it with more gravel.
This additional layer of gravel provides further protection and stability. To prevent any unwanted debris from entering the drainage system, it’s recommended to use landscaping fabric to cover the gravel.
This fabric acts as a filter, allowing water to pass through while keeping out dirt and other particles. After covering the gravel with the fabric, you can add topsoil and grass seed to restore the area’s appearance.
In addition to directing water toward the outside of your property, the drainage trench can also be connected to a dry well or a local storm sewer. These options allow the excess water to percolate into the soil or be carried away by the city’s drainage system.
Another option for redirecting excess water is to create a rain garden. However, it’s important to include a bedrock towards the end of the tube to minimize soil erosion.
This bedrock acts as a barrier, preventing the force of the water from eroding the soil in the rain garden. Following these steps and utilizing the trench drain method can effectively manage excess water and protect your home’s foundation from potential water damage.
Aerating Your Yard
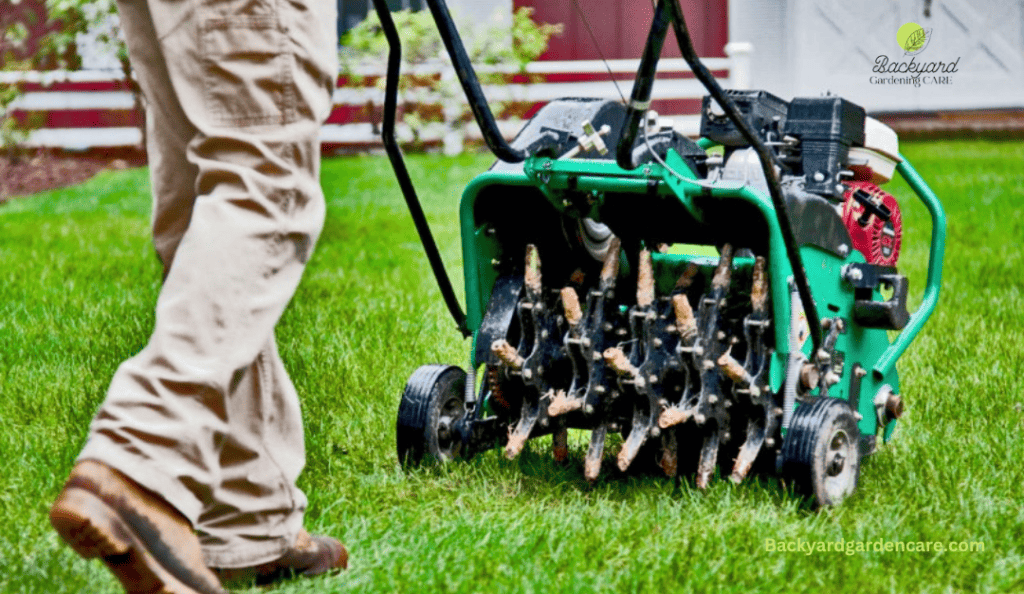
In your yard, standing water may be due to compacted soil that is unable to absorb moisture. This can be a problem as it can lead to flooding and prevent your plants and grass from receiving the necessary nutrients. Fortunately, there is a simple solution – aerating your yard.
Aerating your yard involves decompacting the soil, allowing water to penetrate and be utilized by your growing plants. You can rent a spike or core aerator from your local hardware store. These tools are designed to perforate the soil, creating small holes allowing water to seep .
You can significantly reduce the amount of standing water by aerating your yard. The process allows water to be absorbed more effectively, minimizing the risk of flooding and providing your plants and grass with the necessary hydration.
Moreover, aeration can also improve the overall health of your soil by promoting better root growth and nutrient absorption. To aerate your yard, follow the instructions provided with the rented aerator.
Typically, you must walk slowly over your yard, ensuring the spikes or cores penetrate the soil regularly. This will create the necessary channels for water to flow through, providing soil and grass seeds protection from frost naturally. It is recommended to aerate your yard at least once a year, preferably during the spring or fall when the soil is not too dry or frozen.
However, if you notice excessive standing water or compacted soil, you may need to aerate more frequently. Following these tips, you can effectively dry out your wet yard and protect your home from damage.
Remember, a dry and well-maintained yard not only enhances the aesthetic appeal of your property but also provides a safe and enjoyable outdoor space for you and your family.
How to Dry Up a Wet Yard Fast
While the methods mentioned in the previous section are effective for removing water from your yard, it may take some time for them to remove the water from your yard completely.
However, if waiting a few extra days is not an option, and you need to use your yard as soon as possible, incorporating the following method can help speed up the process and provide maximum results.
One of the quickest ways to dry up your yard is by pumping the water out. Electric pumps are a great solution, especially if you’re in a hurry. It is important to exercise caution when using electric pumps to avoid any potential accidents.
Keep the pump cables away from water to prevent electrocution and property damage. It’s worth noting that this method works best if there is a significant amount of standing water in your yard. If you only have a soggy or muddy lawn, it’s advisable to try one of the other methods mentioned earlier.
By incorporating these fast and effective methods, you can quickly fix a wet yard and regain the use of your outdoor space in no time. Remember to prioritize safety when using electric pumps and take precautions to prevent accidents or damage.
Summary.
Drying a wet yard quickly requires effective drainage solutions, proper maintenance, and proactive measures. You can prevent water accumulation and promote faster drying by addressing the underlying causes of the wetness, such as poor grading or drainage issues.
Implementing strategies like installing a trench drain, using soil amendments, and regularly aerating the soil can also aid in drying up a wet yard.
Remember to consult with professionals if needed, and always prioritize safety when working with water and electrical systems. You can transform your wet yard into a dry and enjoyable outdoor space with the right approach and consistent efforts.
FAQs
How to Dry Out Clay Soil Quickly
To expedite the drying process of clay soil, apply hydrated lime and compost and thoroughly aerate the soil by turning it. This method will assist in absorbing excess water in the soil and evenly distributing it throughout your garden.
How Long Does It Take for Saturated Ground to Dry Out?
The time it takes for saturated ground to dry out can vary depending on factors such as soil type, weather conditions, and the amount of water present.
Generally, it may take a few days to weeks for the water to evaporate and the ground to fully dry. However, it is important to note that this is a general estimate, and the drying time can differ in each situation.
How Do You Dry Wet Soil Fast?
One way to dry wet soil quickly is by combining sunlight and air circulation. Spread the wet soil in a thin layer and expose it to direct sunlight. This will help the soil to dry out faster.
Additionally, you can use a garden rake to break up clumps and promote air circulation, which will help the drying process.
How Do You Dry Out a Soggy Lawn?
To dry out a soggy lawn, there are several steps you can take. First, dig drainage trenches to redirect excess water away from the lawn. Creating a rain garden can also help by capturing and absorbing water. Make low spots smooth and drain better by filling them with soil.
Adding grass seed to bare patches will help the lawn recover and prevent further waterlogging. Lastly, consider aerating your yard to improve soil drainage and allow water to penetrate deeper. These steps combined will help dry out a soggy lawn and promote healthier growth.
Will Sand Help My Soggy Lawn?
Yes, sand can help improve a soggy lawn. Adding sand to the soil can enhance drainage, allowing excessive water to move through the soil more efficiently. However, it is important to note that simply adding sand might not fully solve the issue. It is crucial to address the underlying cause of the excessive moisture, such as poor grading or compacted soil.
Albert Phipps

Hello, I’m Albert Phipps, your trusted professional gardener. I have a deep passion for nurturing nature’s beauty, With years of experience in landscaping. I’m dedicated to creating lush, vibrant gardens and outdoor spaces.
If you’re seeking guidance on plant selection, grass care, pest control products, garden design, or lawn maintenance tips, don’t hesitate to get in touch. I’m here to help you transform your outdoor space into a thriving and serene landscape.

